I "stole" the AirPods Pro Design
For those who prefer a write-up:
Introduction
I am deeply concerned about the prevailing trend in the consumer electronics industry. Most gadgets are designed without repairability in mind, unlike the durable technology of the past that seemed built to last. It is troubling to see design choices like non-replaceable batteries, glued-in components, and a lack of transparency in public information leading to the rise of ‘fast electronics.’ In response, I wanted to undertake this project to demonstrate how one of the most popular gadgets today - Apple’s AirPods Pro - could have been easily made repairable with minimal effort. My primary objective is to encourage consumers to be more mindful of their choices and to motivate manufacturers to prioritize sustainability.
If some guy in his apartment can do it, why can’t Apple?
I modeled every single part of the device, essentially ‘stealing’ the design, and freely shared the design with anyone. These designs have been thoughtfully modified to include screws and nuts, making them easily swappable and repairable – a stark contrast to the original parts that were frustratingly glued together with strong adhesives. Considering the enormous number of AirPods Pro units sold, even a small percentage being repairable and extending their lifespan can make a significant impact in reducing electronic waste.
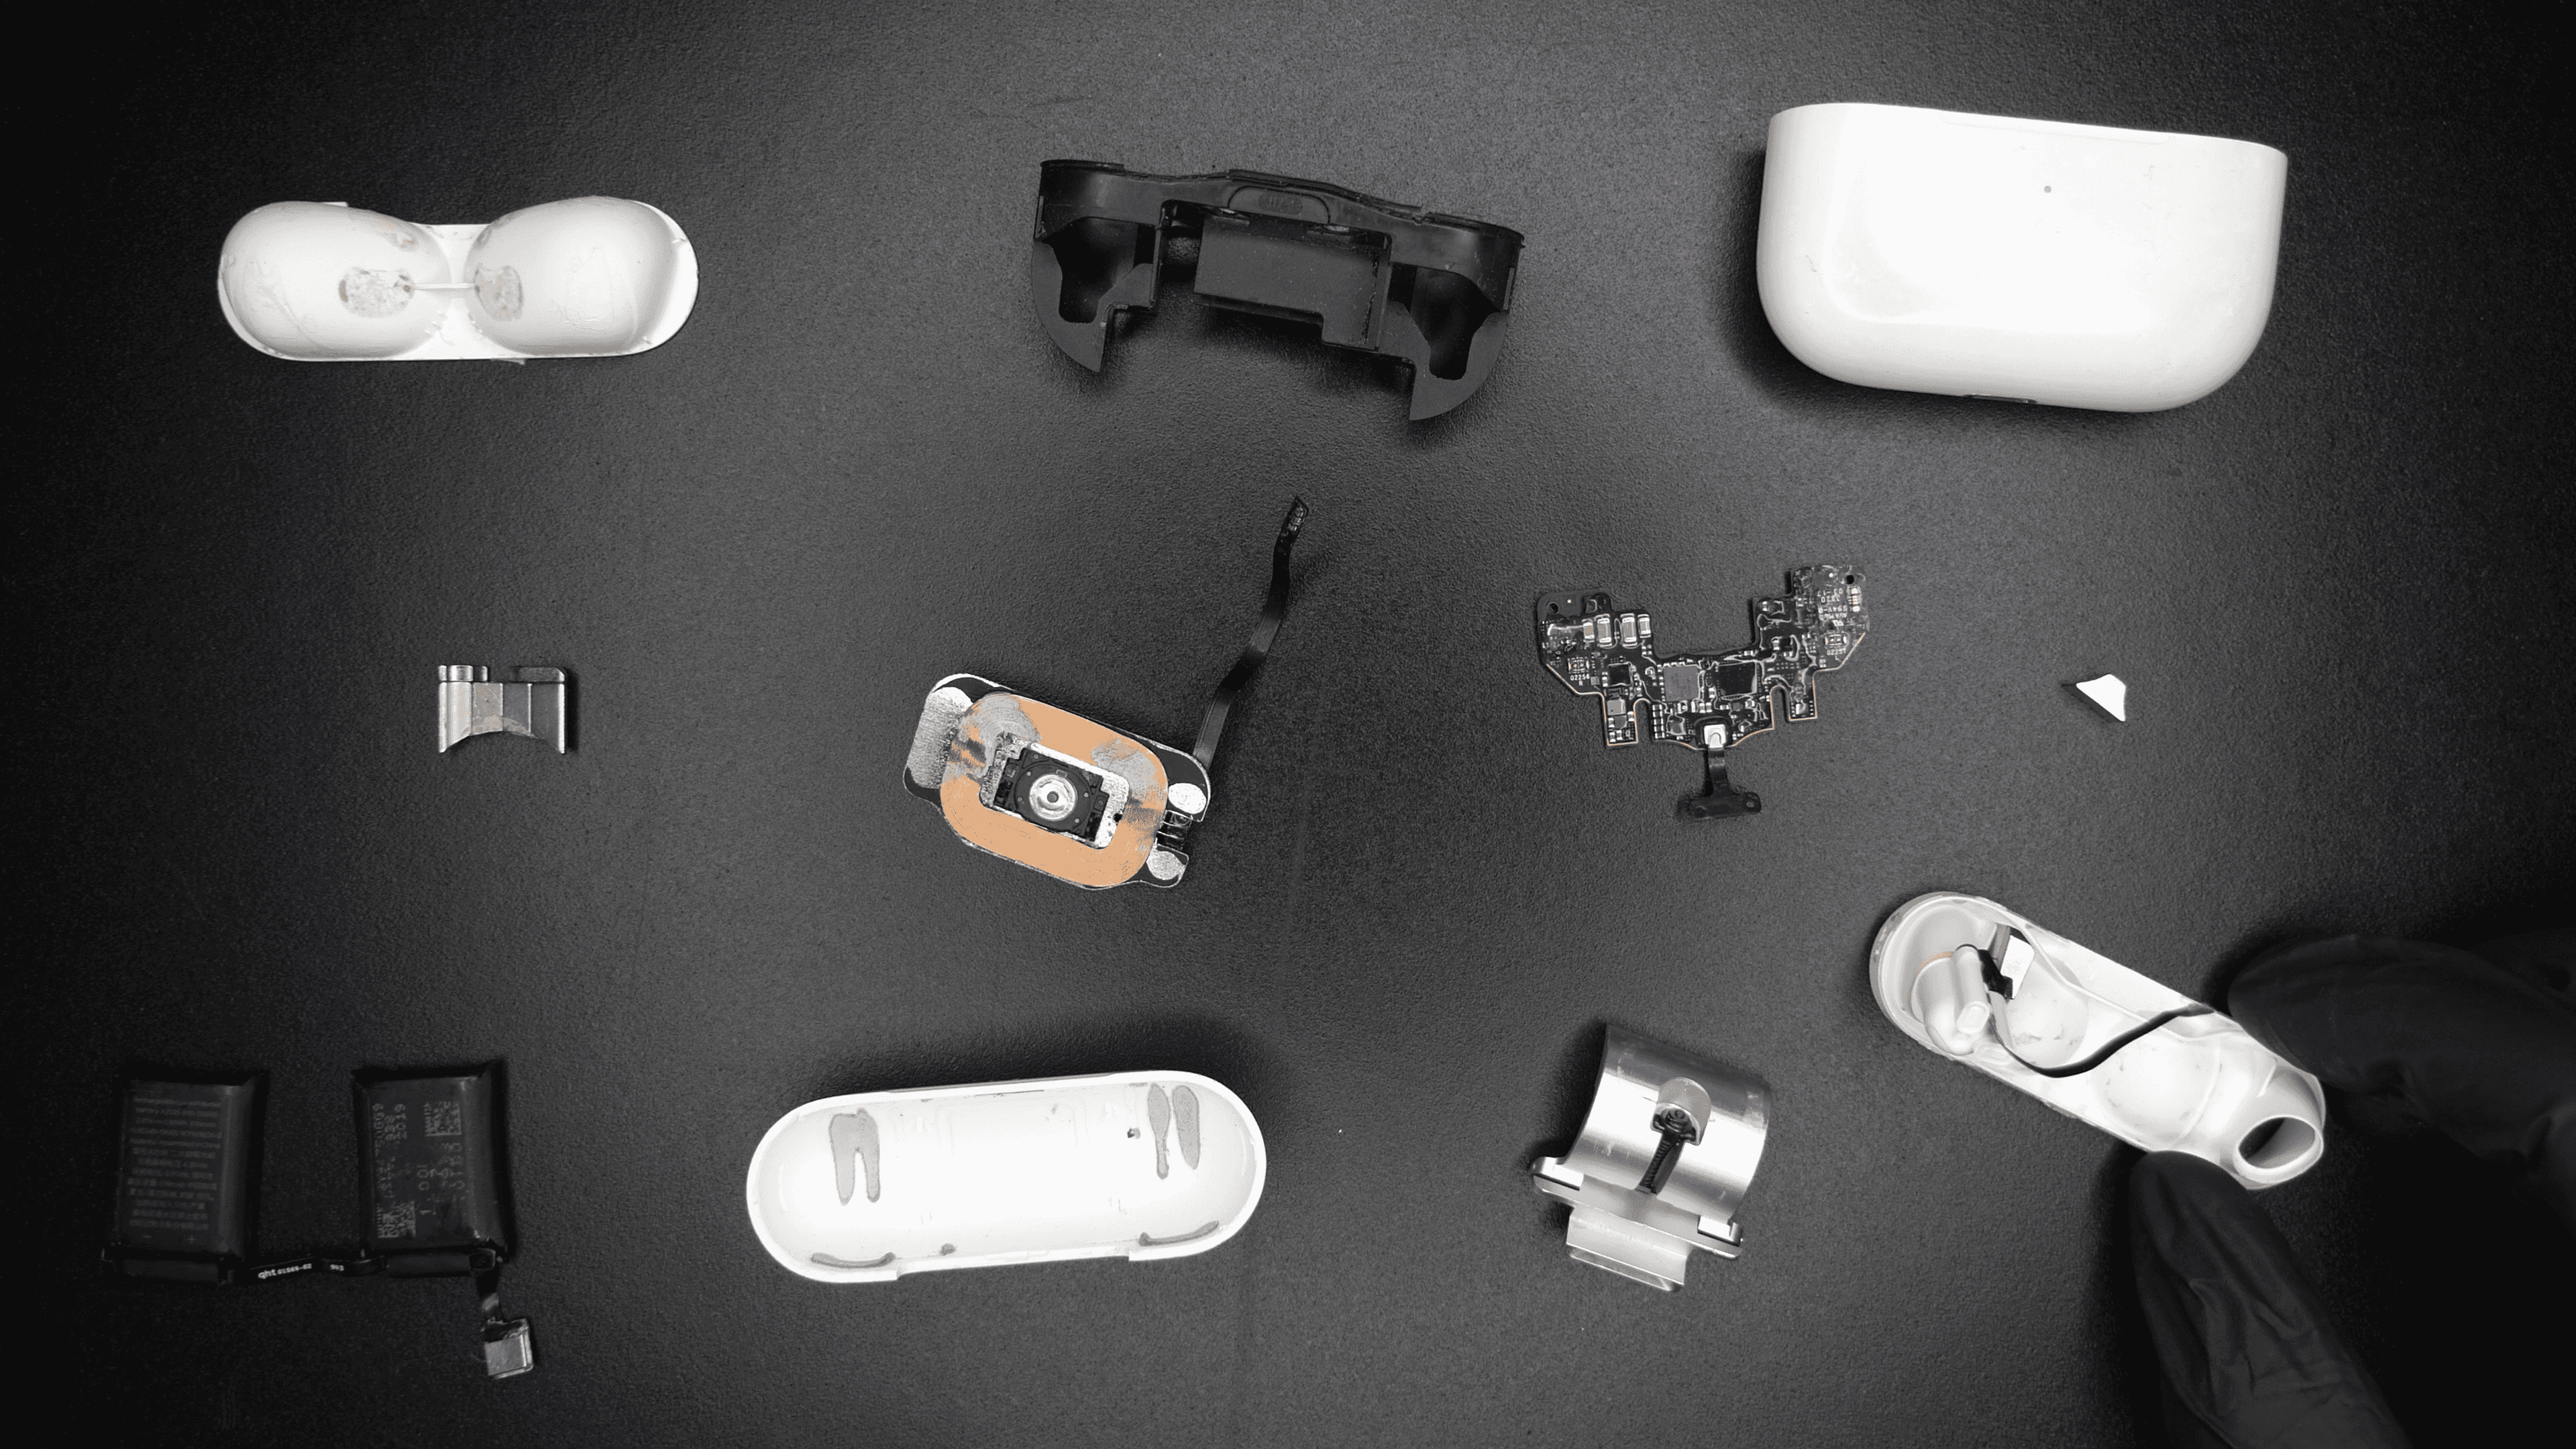
Disassembly
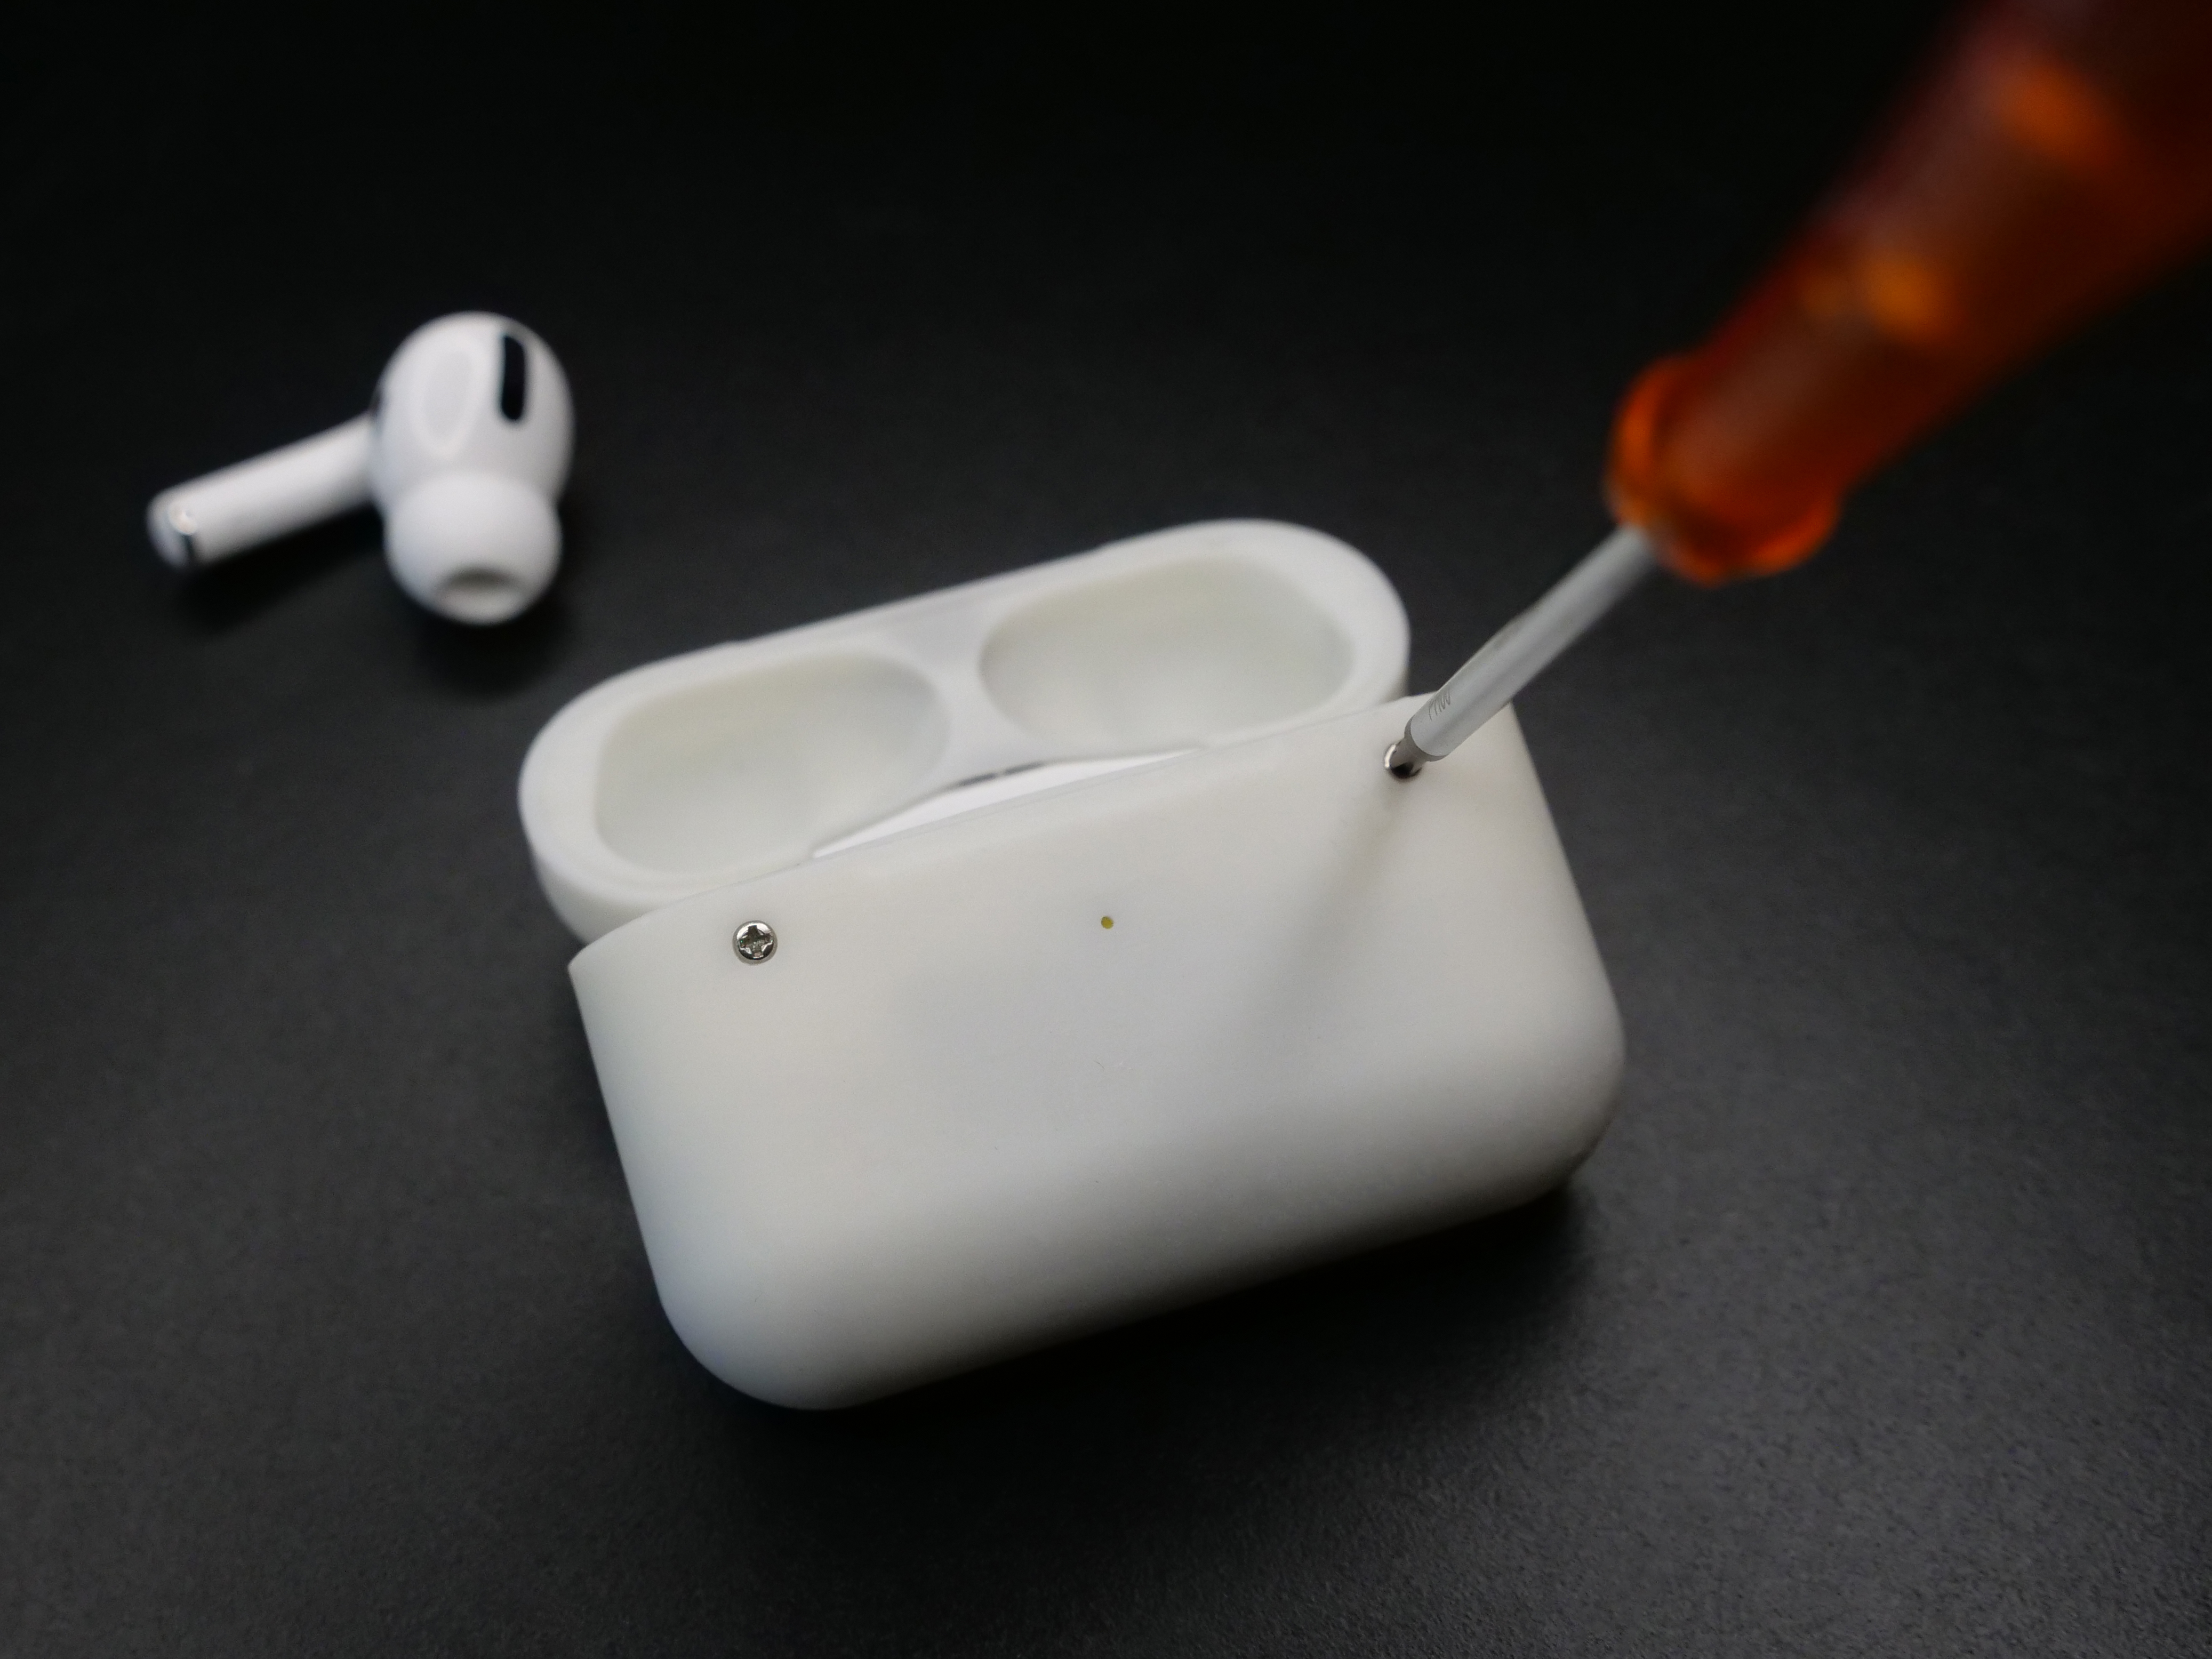
I covered this previously in my AirPods USB-C Mod Assembly Tutorial. However, in this instance, I had to take the process much further. Every single part was disassembled, and unsurprisingly, the entire case contains just two screws for the Lightning Port - that’s it! The rest is all glued in… Now, some die-hard fans will argue that the case is simply too small to accommodate real fasteners, but that’s precisely what I aim to disprove here. Another assertion is that screws are pricier for assembly and manufacturing, and while this is accurate, I remain unconvinced that it forms a valid argument for a $300 premium piece of technology.
To remove the adhesive binding all those parts together, I had to employ a combination of force, heat, and IPA (Isopropyl alcohol). I observed that there were two types of adhesives in this case: a soft white glue and a hard green glue. Let’s label them as whiteGlue and greenGlue, respectively. I determined that whiteGlue is easily removable by directing hot air onto it (at 120°C for 45 seconds), whereas greenGlue, seemingly crafted by the devil, possesses immense strength and only yields to high temperatures that could also damage the surrounding plastic. I found that IPA assists in slightly softening it, but its effect is limited. Acetone proves effective in dealing with greenGlue, but it risks affecting the surface of the surrounding white plastic, making it an unsuitable option. Ultimately, the sole means of breaking the bonds formed by greenGlue necessitates a combination of force (using prying tools) and IPA.
Advanced Reverse Engineering
I employed Fusion 360 to model the parts, utilizing four distinct methods to attain accurate dimensions. These methods are presented here in ascending order of complexity:
-
The simplest approach involved capturing as many dimensions as possible using my precision calipers, specifically the Sylvac S_Cal PRO. Manufactured in proximity to my location, it proved highly reliable. This method suits straight, overall dimensions, depths, and right angles.
-
For 2D curves, which constitute a substantial portion of these parts, I initially employed the flatbed scanner technique. Placing the part on the scanner bed and treating it akin to a paper document scan, I utilized my scanner’s 600DPI resolution capacity. Importing these scanned images into Fusion 360, I scaled them and employed them as guides to generate corresponding curves.
-
Addressing 3D curves, I endeavored to replicate the flatbed scanner method, albeit by capturing images from various angles that should ideally match the Fusion 360 coordinate system. These images were then scaled and utilized to define and carve the precise curves from each perspective. While this approach proved successful for certain curves, particularly intricate ones posed challenges. Tight tolerances and compatibility with curved components salvaged from the original case, such as the metal hinge and magnets, made this method limited in its ability to help.
-
To tackle the most intricate curves, I resorted to 3D scanning - an entirely novel experience for me, one I was eager to explore. After extensive research, I identified the ideal tool for the task, considering the balance between price and resolution: an open-source project named Openscan. Given my affinity for open-source projects, this option earned extra points. I 3D-printed the necessary parts, acquired the essential electronics and a Raspberry Pi, and embarked on the journey. Employing an Aesub self-evaporating spray for priming, I harnessed the built-in photogrammetry software. The results were remarkably impressive. Following that, I imported the meshes into Fusion 360, generated slices from these meshes to refine the curves, and subsequently utilized the loft tool to join all the slices, forming a cohesive and “clean” solid. Subsequently, I employed methods 1, 2, and 3 to finalize these parts.
USB-C?
Certainly, the case complements my AirPods Pro USB-C replacement part perfectly. There are only a few parts left, which you can find at https://shop.kenp.io/.
Open Source!
Indeed, it’s evident that I didn’t actually “steal” anything. Each component was meticulously modeled and adjusted by me.
However, I opted for an attention-grabbing video title. Remember, don’t hate the player, hate the game.
I’ve chosen to distribute the STL files without charge, and my sponsor, ProtonMail, has played a pivotal role in enabling this.
To access the files, follow these steps:
- If you don’t have a Proton account already, sign up for free at https://proton.me/ken
- Send an email to kens_secret_files@proton.me
To get the automatic reply, your email address has to end with @proton.me, @protonmail.com, @pm.me, @protonmail.ch or @proton.ch
Hope you don’t mind the little hoops to get the files. I really like the company and it’s a great way for me to still get compensated for all this work while keeping it free for everyone. I believe we all win here. Hope you will understand that ❤
Want more?
If you’re inclined to take the project to the next level or simply curious about each step I undertook to create these files, you can access the original Fusion 360 source project files on my Patreon.