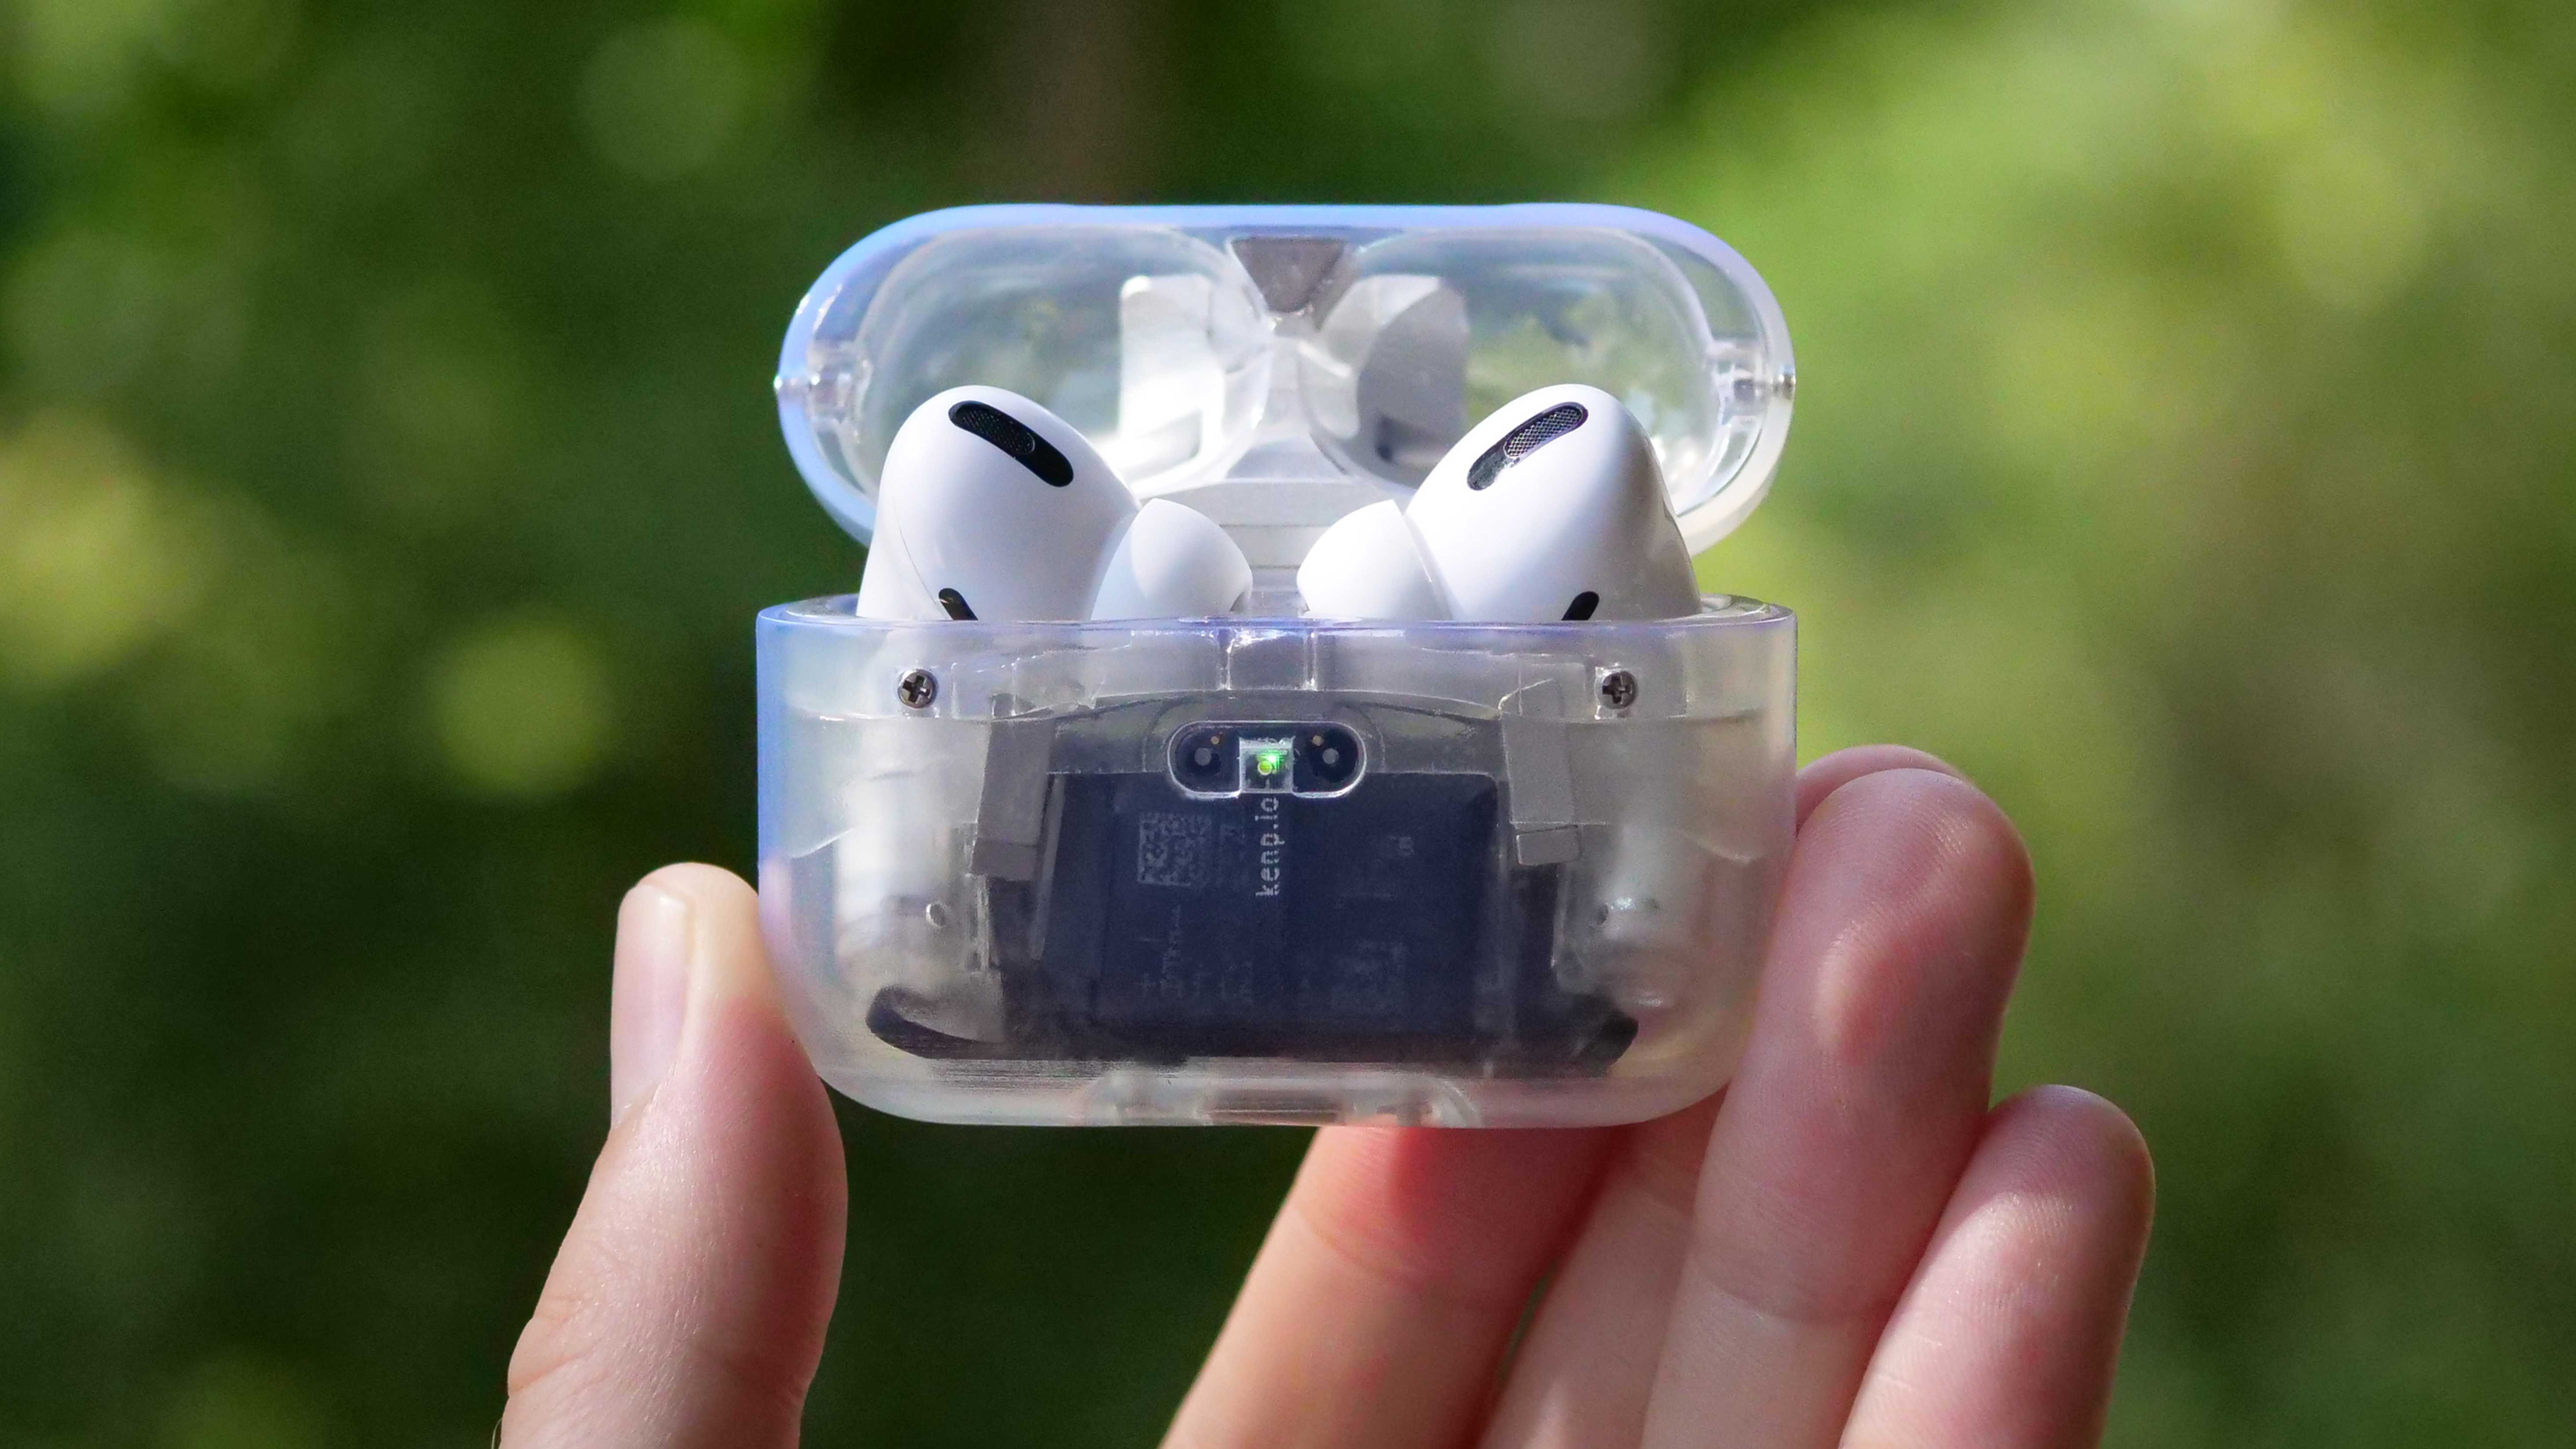
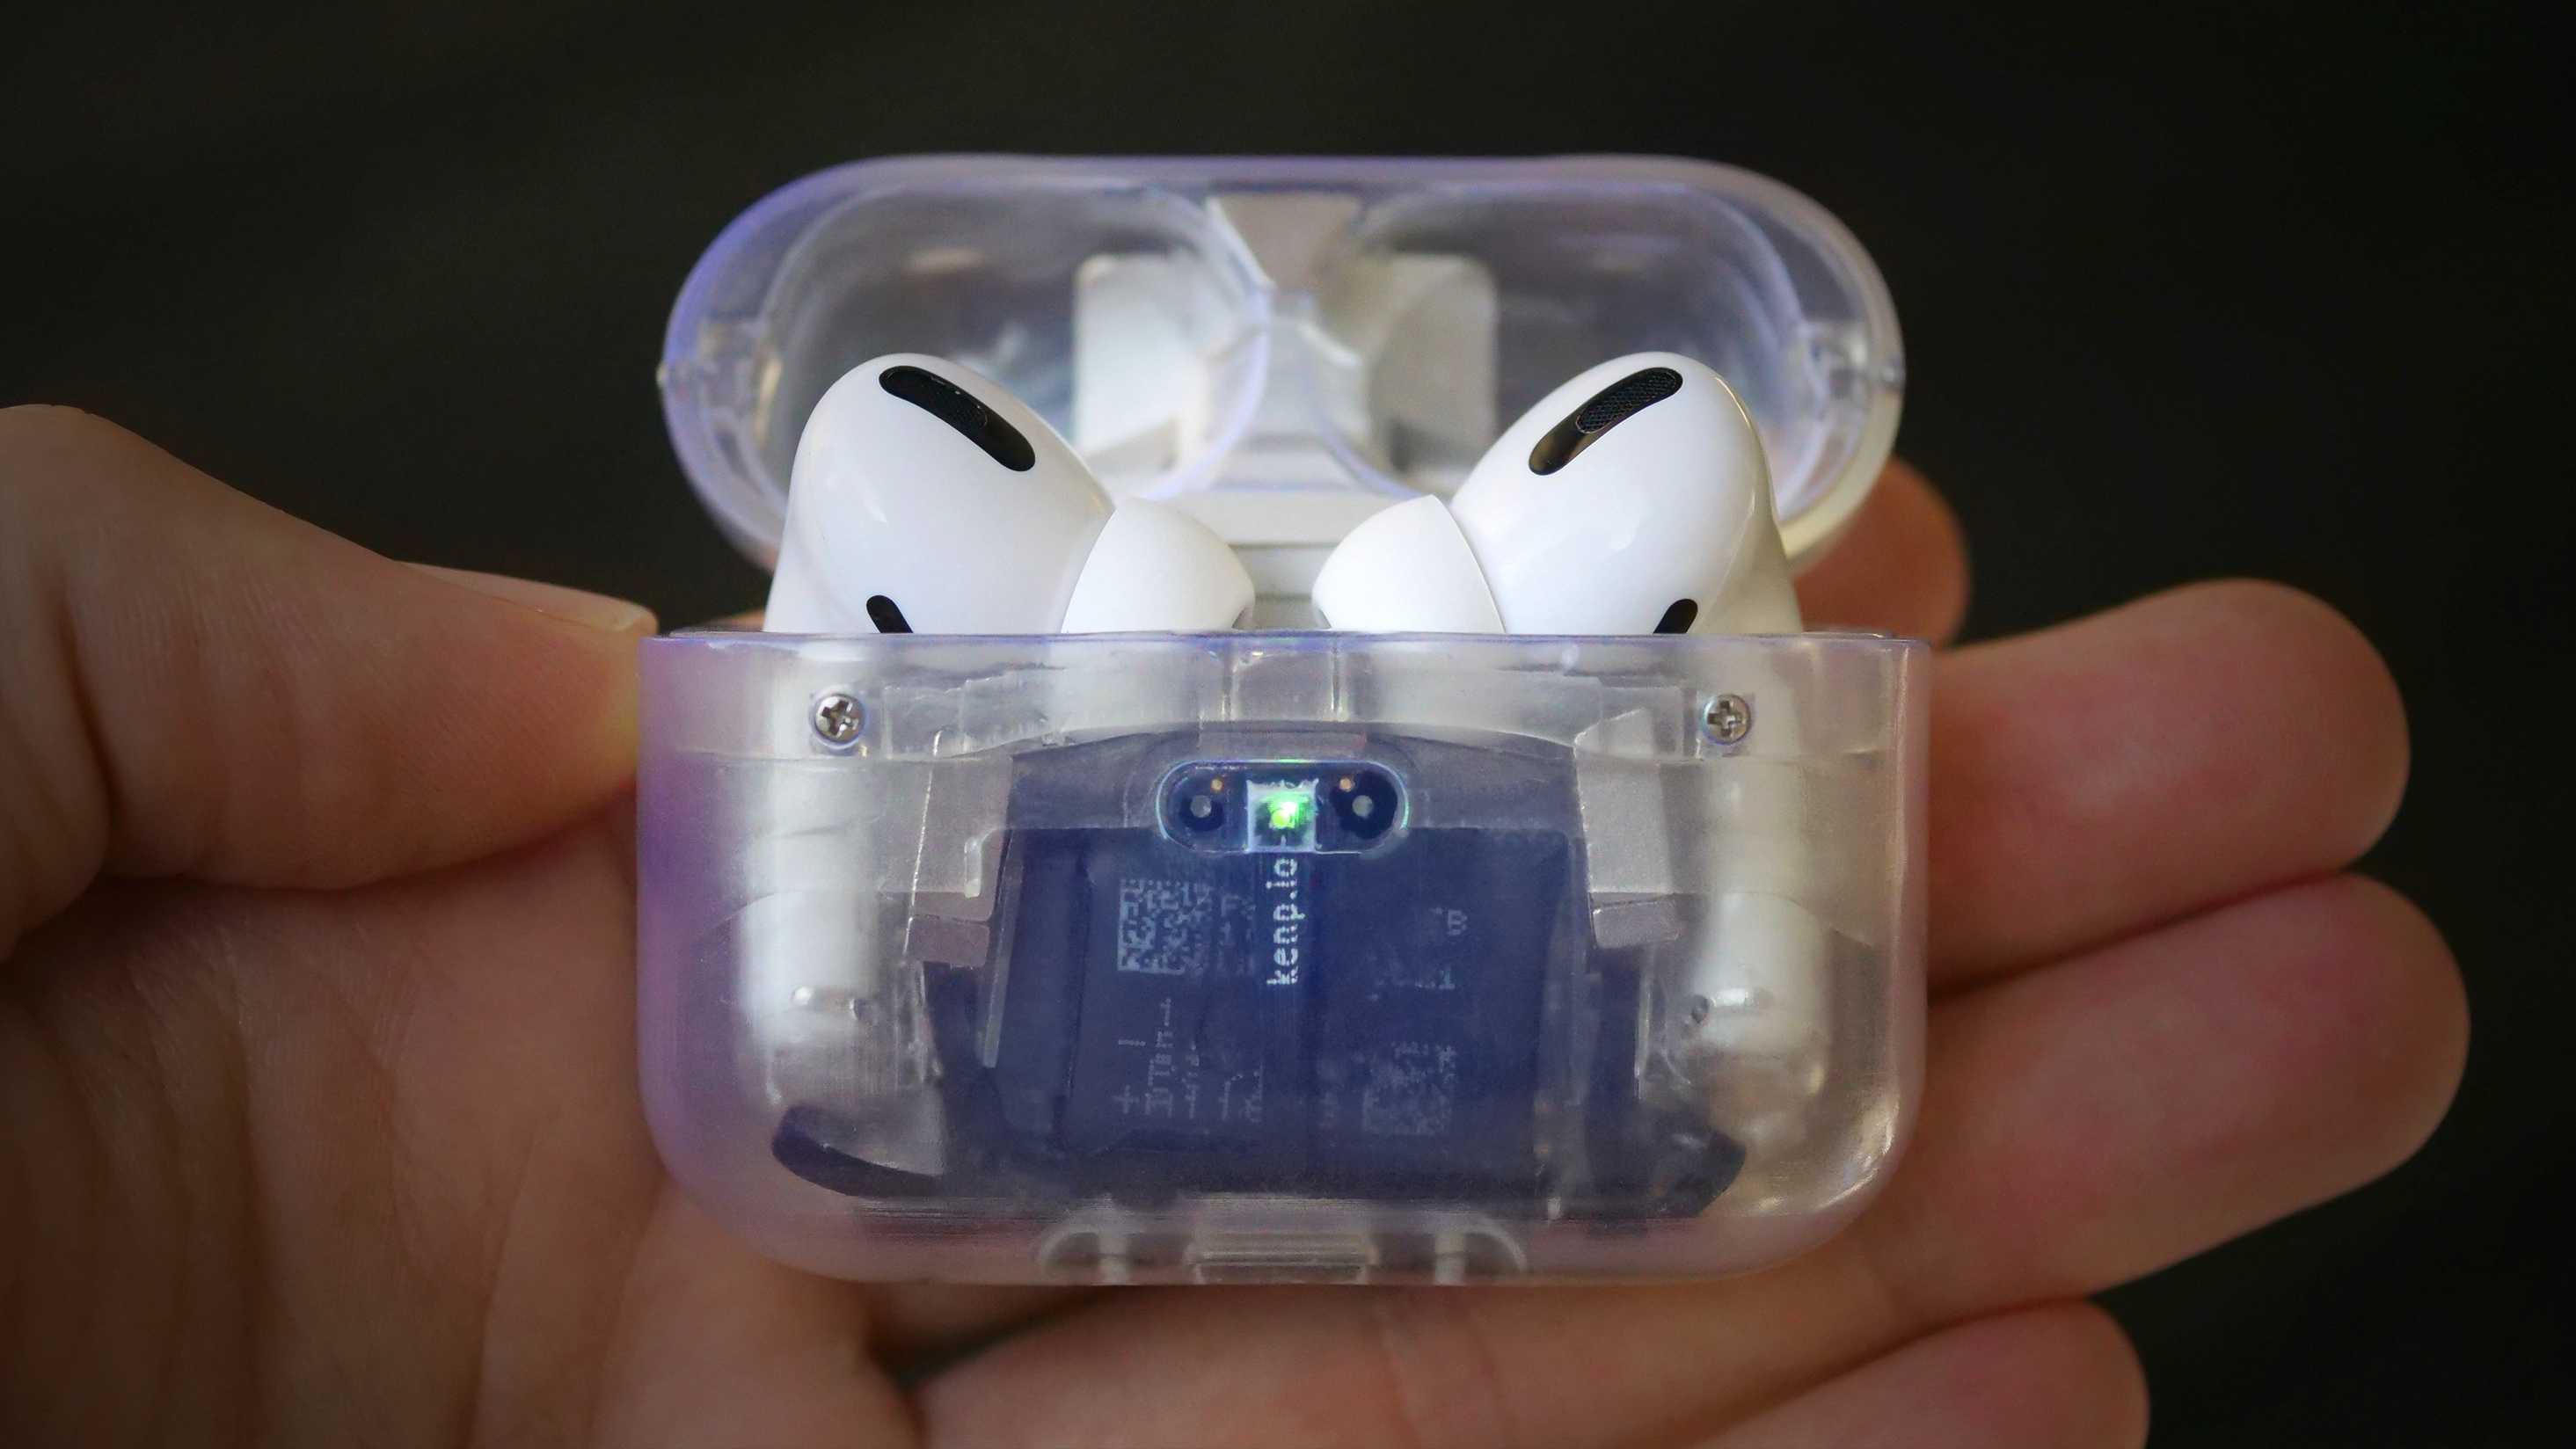
Fully Clear AirPods Pro
For those who prefer a write-up:
Introduction
In my previous project (link), I “stole” the AirPods Pro design and enhanced it by incorporating a repairable design that integrates screws and nuts in lieu of adhesive. I shared these files freely, making them accessible for anyone to download. The subsequent logical progression was to employ these files for 3D printing, using transparent plastic this time. While I had always intended for this to be the next phase, the multitude of comments echoing the same sentiment affirmed that I wasn’t the only one in the Simulation cherishing transparent technology for its nostalgia and aesthetic appeal.
Two goals behind this project. The first one is to do something cool and creative, for the beauty of it. To entertain. Because why not, if I can. Second goal, more serious, is to drive traffic to the aforementioned project and hopefully sensitize the viewer to those repairability issues.
Let’s get to it!
Build steps:
- Download the files as described at the bottom of this article.
- Import the STL files into your 3D printing slicing software. Personally, I use Preform.
- Print your 3D files using transparent SLA resin. I use Formlabs Clear Resin on a Formlabs Form 3+ printer. By the way you can get 500$ off with the referral code “FORM3-HILMO” ;). While other SLA printers and resins might work, my experience suggests that other printers, while cheaper, often require more intricate settings adjustments and can consume a significant amount of your time. If your time and potential business use are valuable, Formlabs is the way to go.
- Clean the parts in fresh IPA. Ensuring the IPA is “clean” or “new” is crucial to avoid contamination from other resins.
- Thoroughly dry the parts using compressed air.
- Follow the manufacturer’s guidelines to cure the parts. Personally, I utilize a Formlabs Cure station for this stage.
- Delicately remove the supports. I find Knipex side cutters to be highly effective for this task.
- Commence the most labor-intensive and pivotal phase - sanding. Each part undergoes a careful sanding process in sequence, using 400, 600, 800, and 1000 grit sandpaper. Regularly dipping the parts in tap water during sanding aids in cleanliness and progress assessment.
- Cleanse the part in new IPA and then employ hot air to dry it. This step prevents mineral residue deposits from water.
- Apply clear spray varnish to the parts. A single or double thin coat will miraculously transform the parts from opaque to entirely clear. This process works effectively if sanding was meticulously executed. The key is achieving a consistent surface; the spray varnish helps even it out and ensures transparency.
- Proceed to reassemble your case!
The result
For a more visually appealing perspective, be sure to watch the video!