A car mount worthy of the Galaxy Fold
The Problem
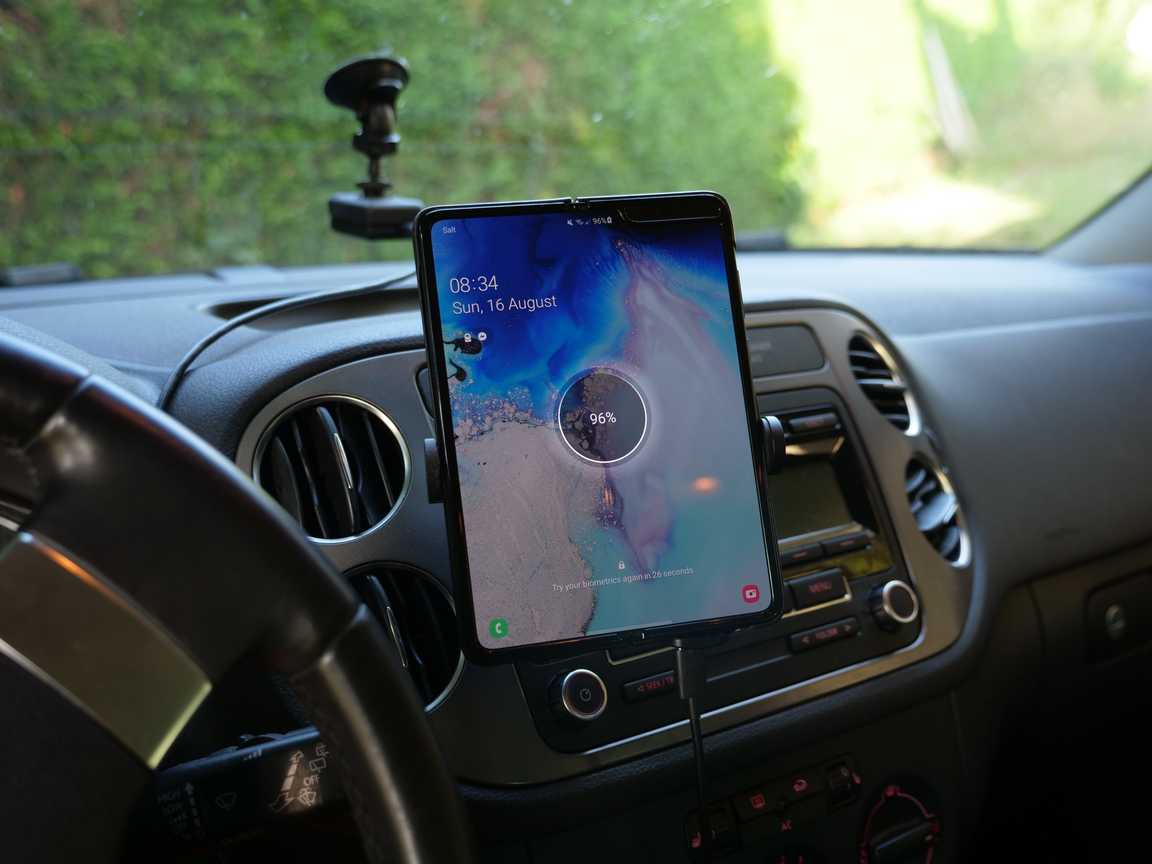
I was absolutely in love with my Galaxy Fold, finally a phone that felt like it came from the future! Yet usually being an early adopter comes with some drawbacks. The first one I experienced was that I couldn’t find a proper car mount for the Fold or the Z Fold 2.
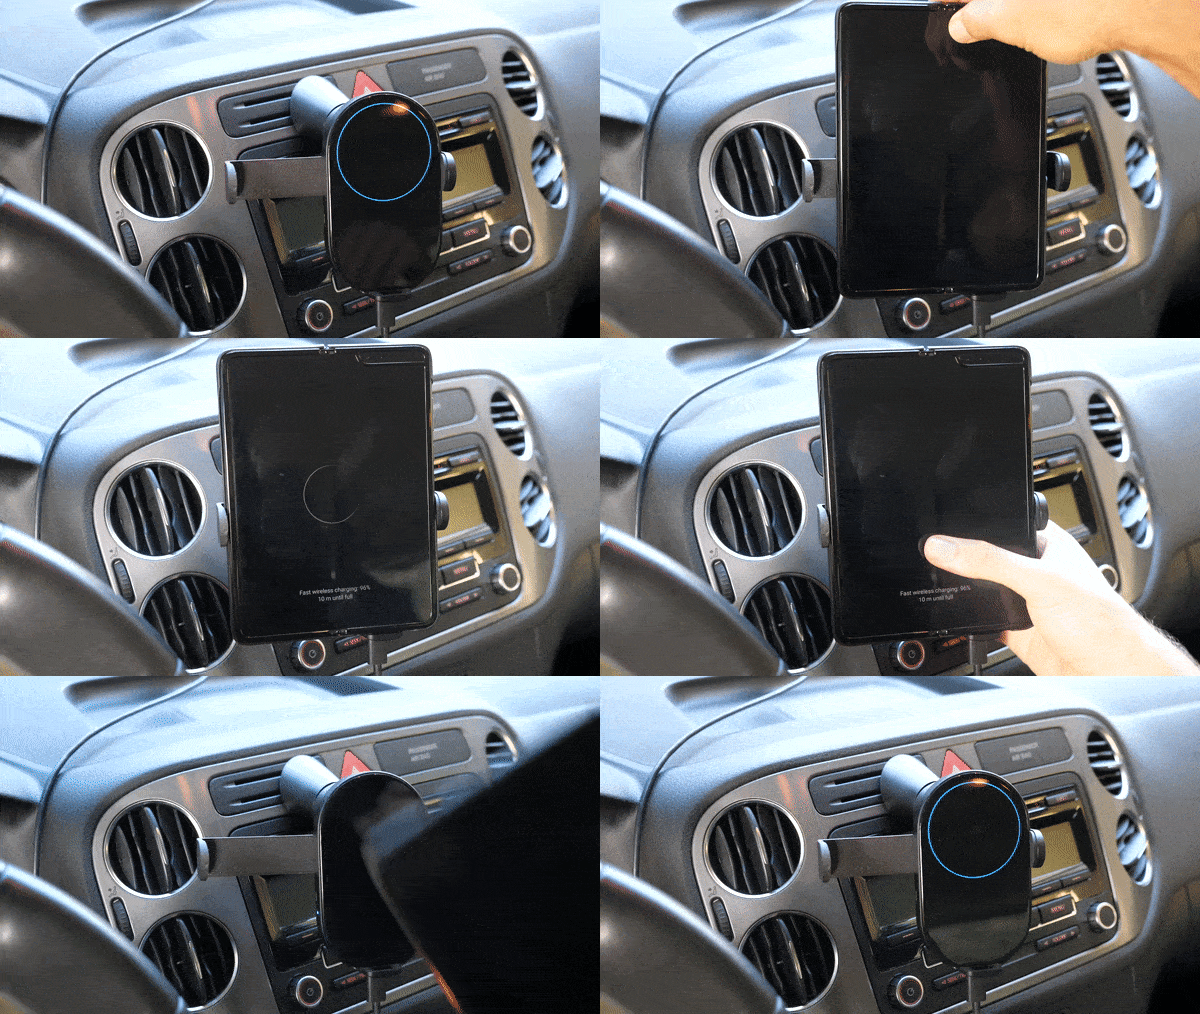
I had already found my ideal car mount/charger, the Xiaomi Mi 20W Car Charger (WCJ02ZM), it is a great charger that ticked all the boxes, USB-C, wireless charging, good quality, sturdy and that allows one-handed operations. It even had the extra perk of having a wow-effect, it has a built-in proximity sensor that opens or closes the side arms accordingly. People who got into my car were always intrigued by it.
I was therefore very disapointed to find out that my Fold does not fit in this charger. It only does when it is closed.. But who wants to look at a tiny screen when we could have a tablet-sized screen. I also felt that I could somehow modify my charger without having to buy a new one. I did end up finding a way to do that and so here is a step by step tutorial to do it.
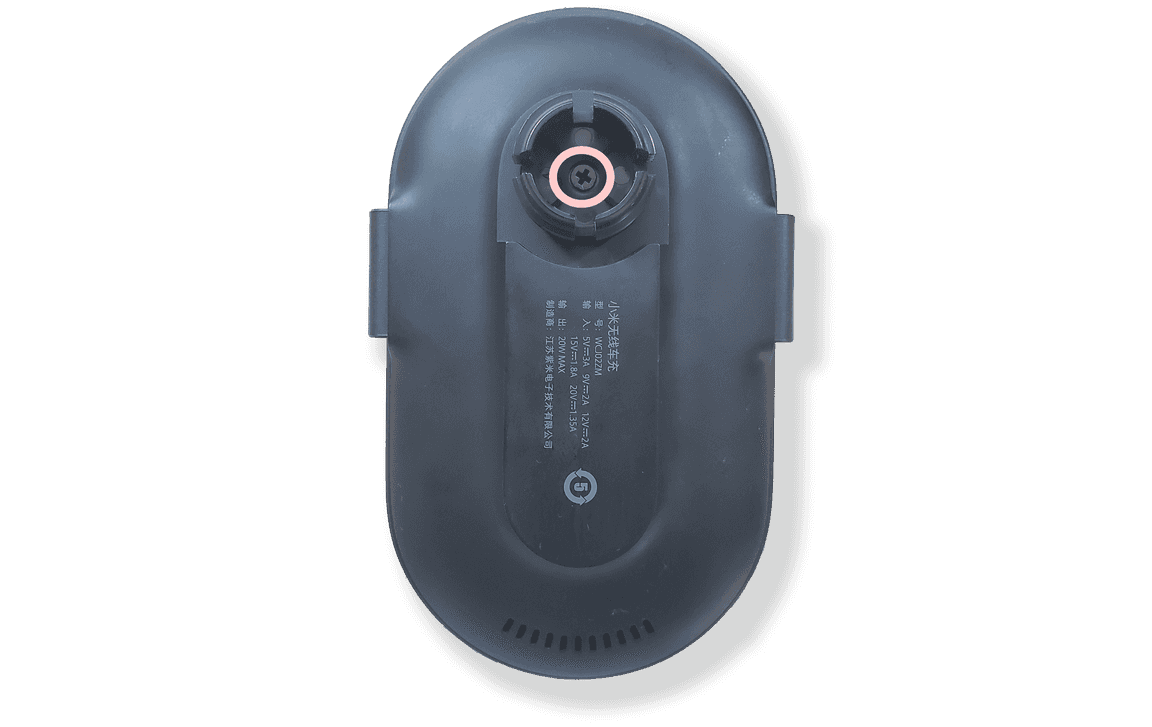
Step 1. Remove back ball head and unscrew circled screw.
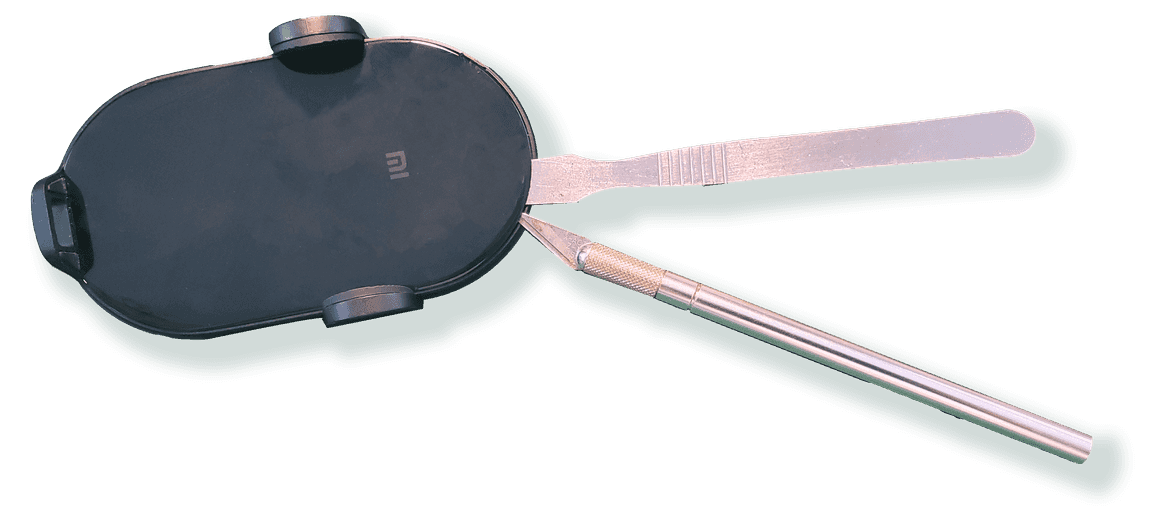
Step 2. Heat up front glass plate and carefully unglue it from the frame
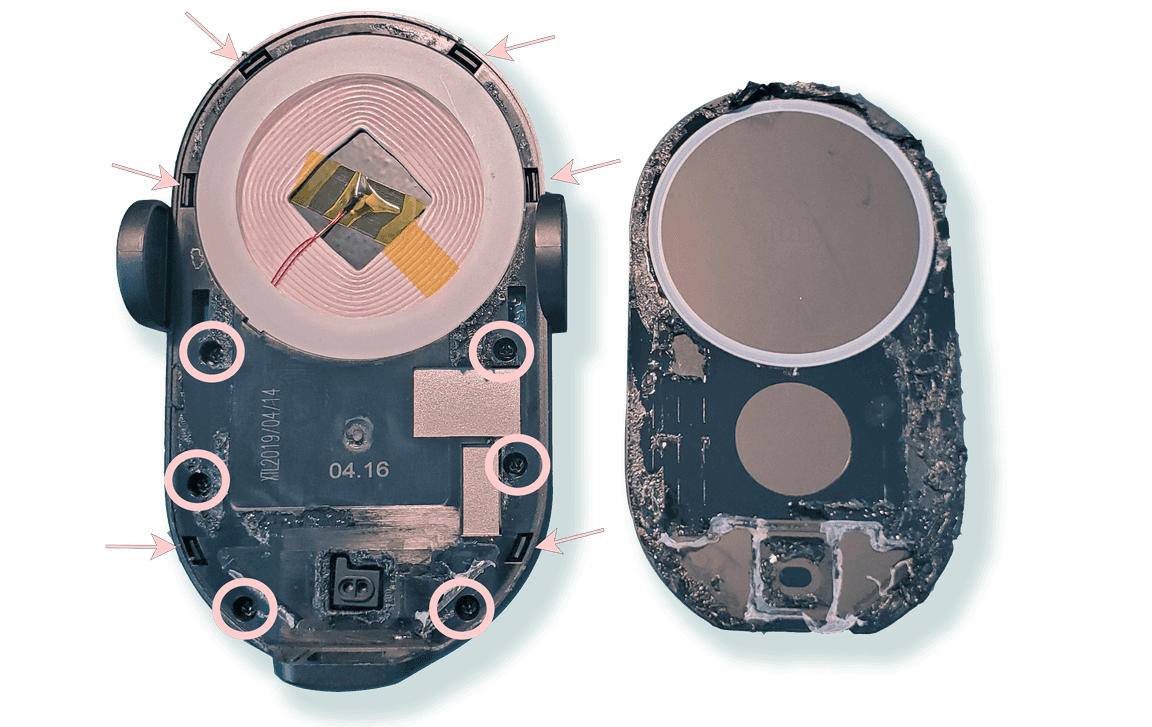
Step 3. Unscrew circled screws
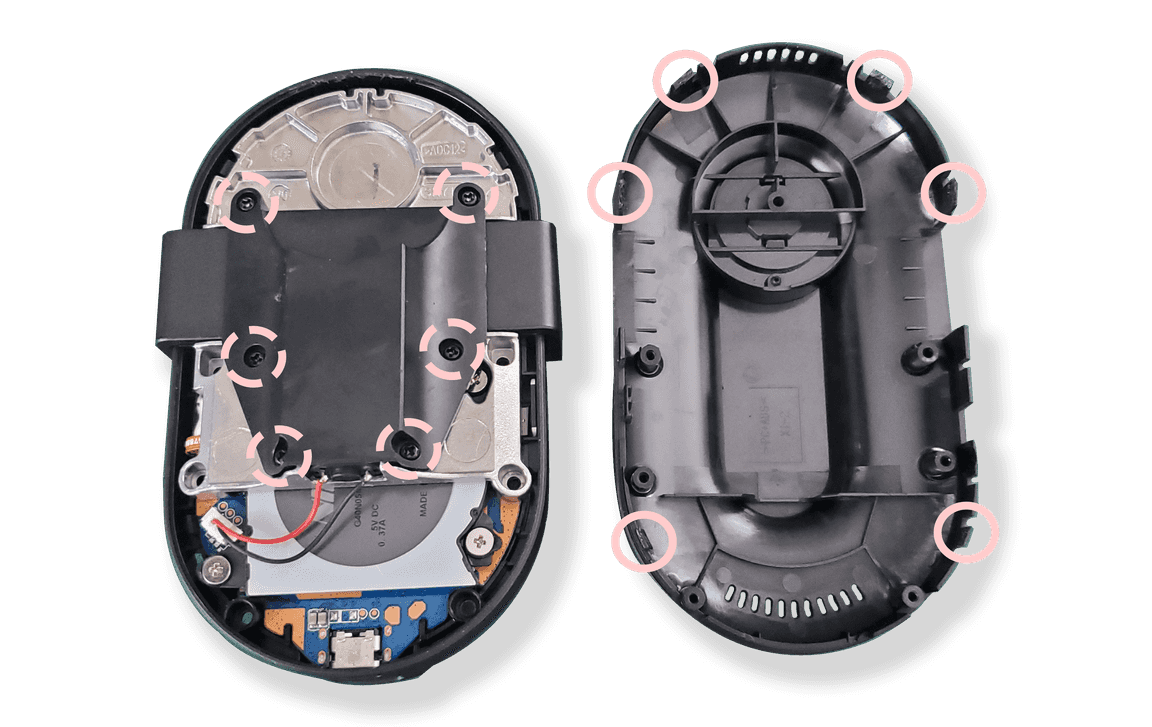
Step 4. Detach the back plastic cover by prying off the full circled tabs from the front holes (pointed by arrows in Step 3.)
Step 4a. Then you can unscrew the dashed circled screws
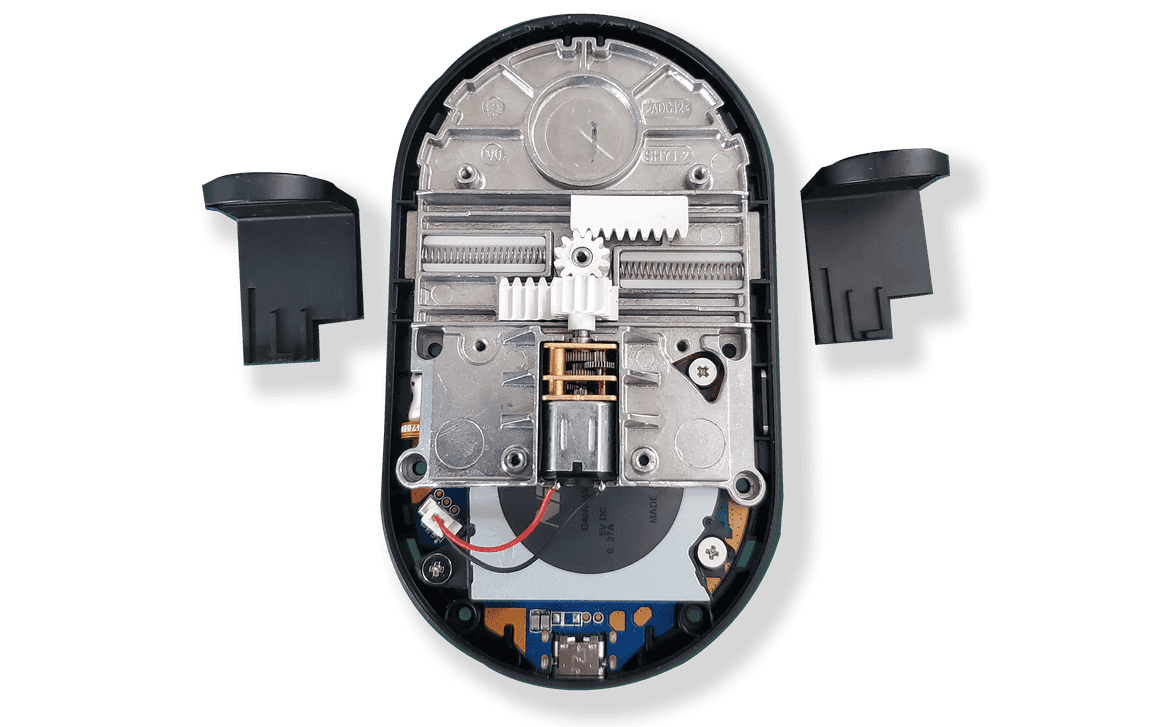
Step 5. We can now observe the clever mechanism to open the side claws with only a single motor. You can simply swap the left claw by the replacement piece in Step 6.
Step 6. You can download the modified claw on Thingiverse and print it on a 3D printer. Then you can install it as described in Step 5.
Step 7. Assemble back the charger in reverse order. Transfer the rubber grip part from the old claw to the new one.
Step 8. Enjoy! You now have a modded car mount and charger that is perfectly aligned to charge Samsung’s Galaxy Fold.
This was a personal week-end project. The part was in designed in CATIA and then 3D-printed on my Prusa MK3s. The whole project shouldn’t take you more than 2 hours.
